
How to Mail Your Wedding Invitations in 6 Easy Steps
MAILING YOUR WEDDING INVITATIONS in six easy steps
by Style-Architects Weddings, a luxury wedding planning and design studio based in Minneapolis, Minnesota
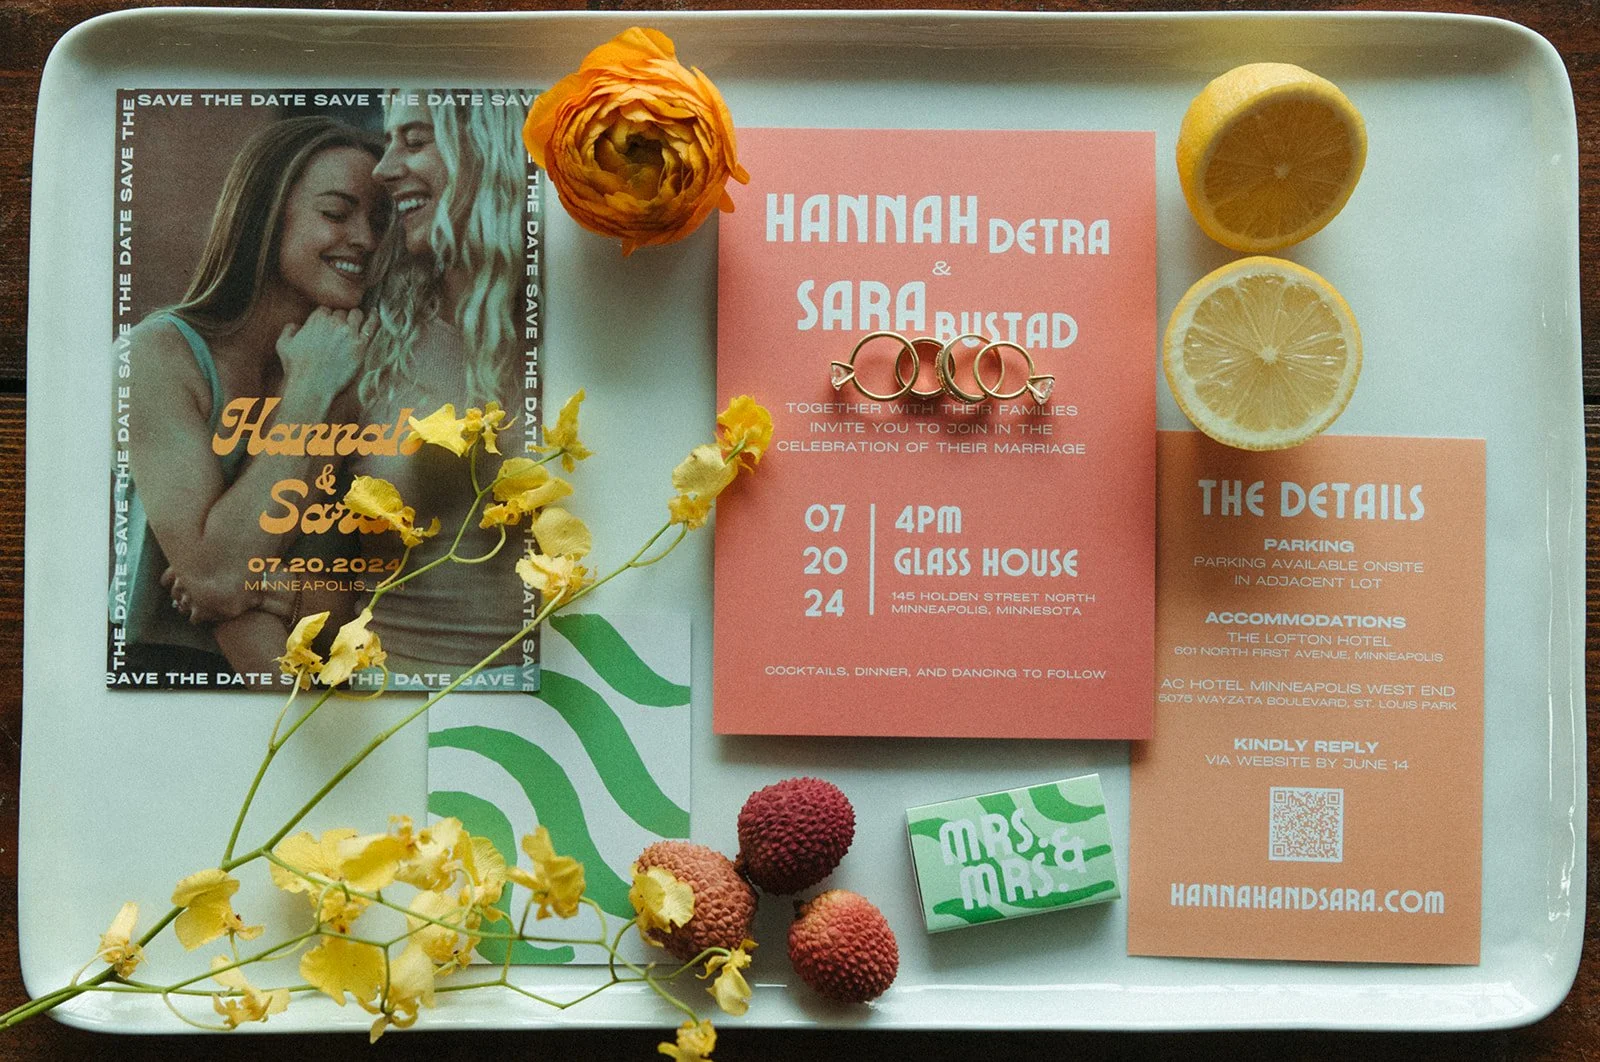
photo credit: Sarah Ascanio
As wedding planners, one of the most common questions we get from couples is: “How do we actually mail our invitations?” It sounds simple… until you’re staring at a stack of beautiful stationery and suddenly questioning everything. Like most things in wedding planning, it’s not difficult, but the details matter.
We’ve gathered our tried-and-true tips (paired with current USPS guidance) to walk you through the process so your invitations arrive safely, beautifully, and exactly as intended.
Step One: Stamp Your RSVPs!
To make it easy for guests to respond, always pre-stamp your RSVP envelopes. This is one of those small details that makes a big impact.
RSVP with envelope: A standard Forever stamp is typically sufficient (as long as the card is standard size and weight).
Postcard RSVP: Use a postcard stamp, which is lower in cost than a standard letter stamp. Be sure to bring one of your postcards to the post office when buying the stamps to ensure the postcard dimensions fit within postcard standards.
Tip: Forever stamps remain valid regardless of postage increases, which we love. However, if your RSVP card is oversized, unusually shaped, or heavier than standard cardstock, confirm the correct postage with your local post office before mailing.
Also don’t forget:
Return address on the RSVP envelope
Correct spelling of your return address
Clear response deadline printed on the card
Do NOT stamp RSVP envelopes for international guests. Local international postage from that country is required to mail back to the United States.
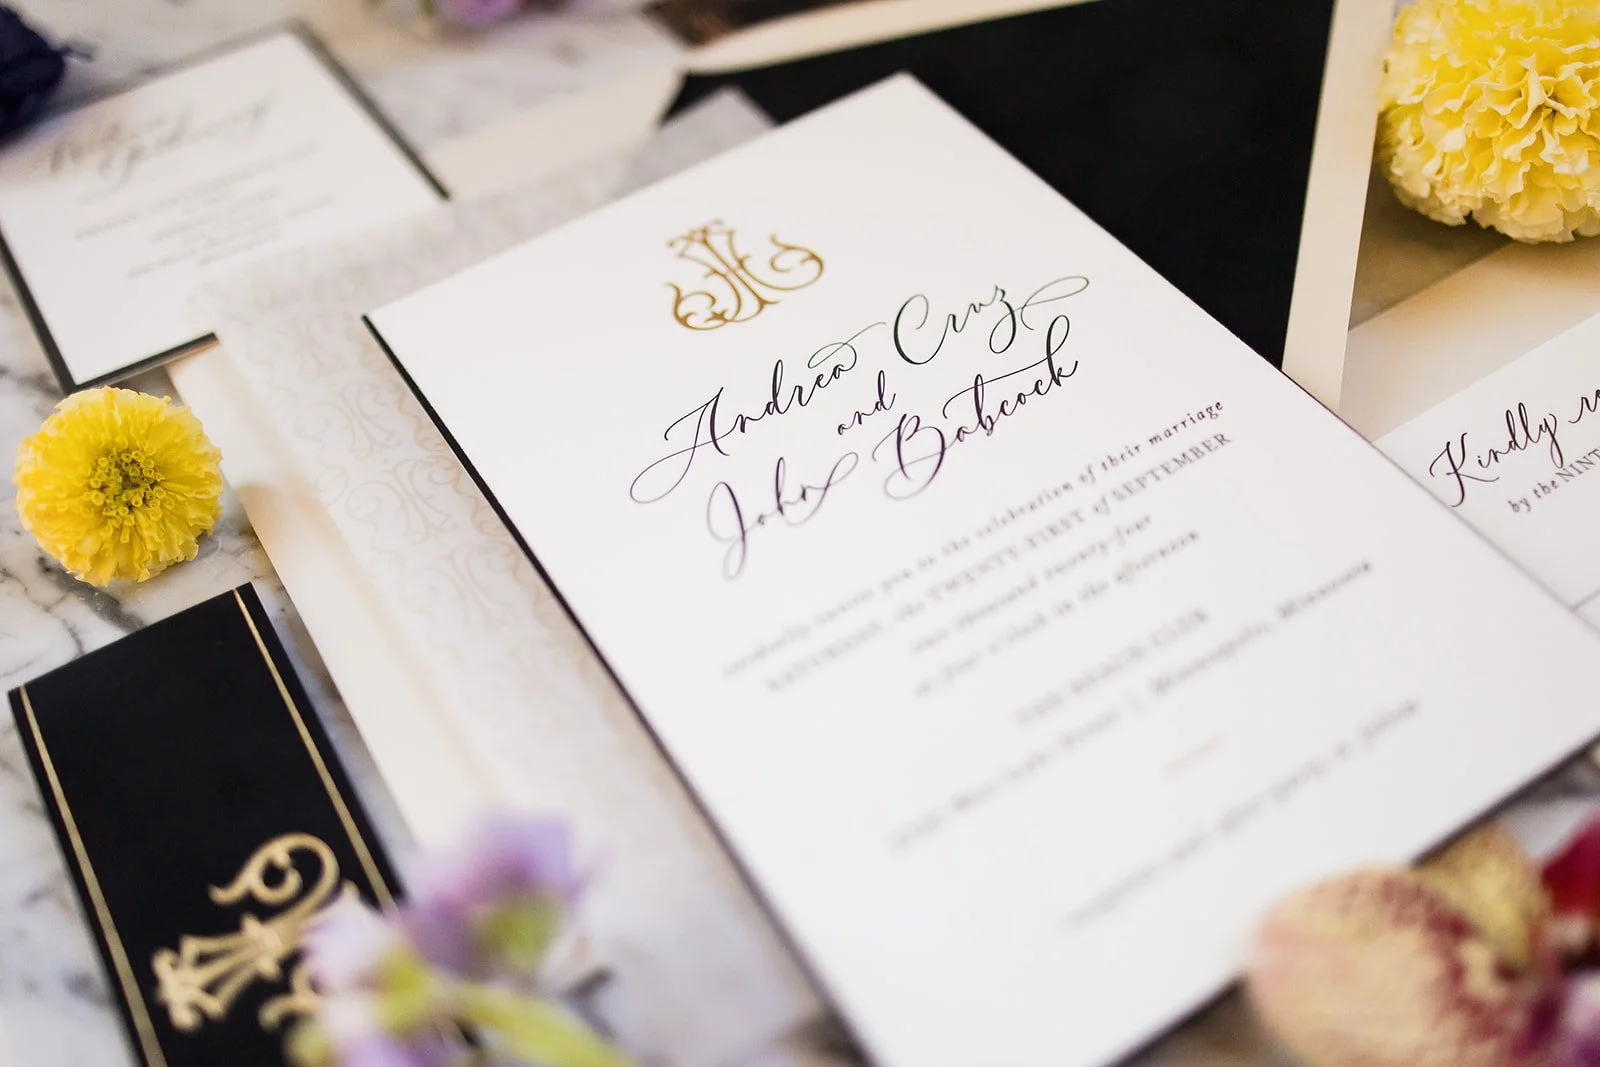
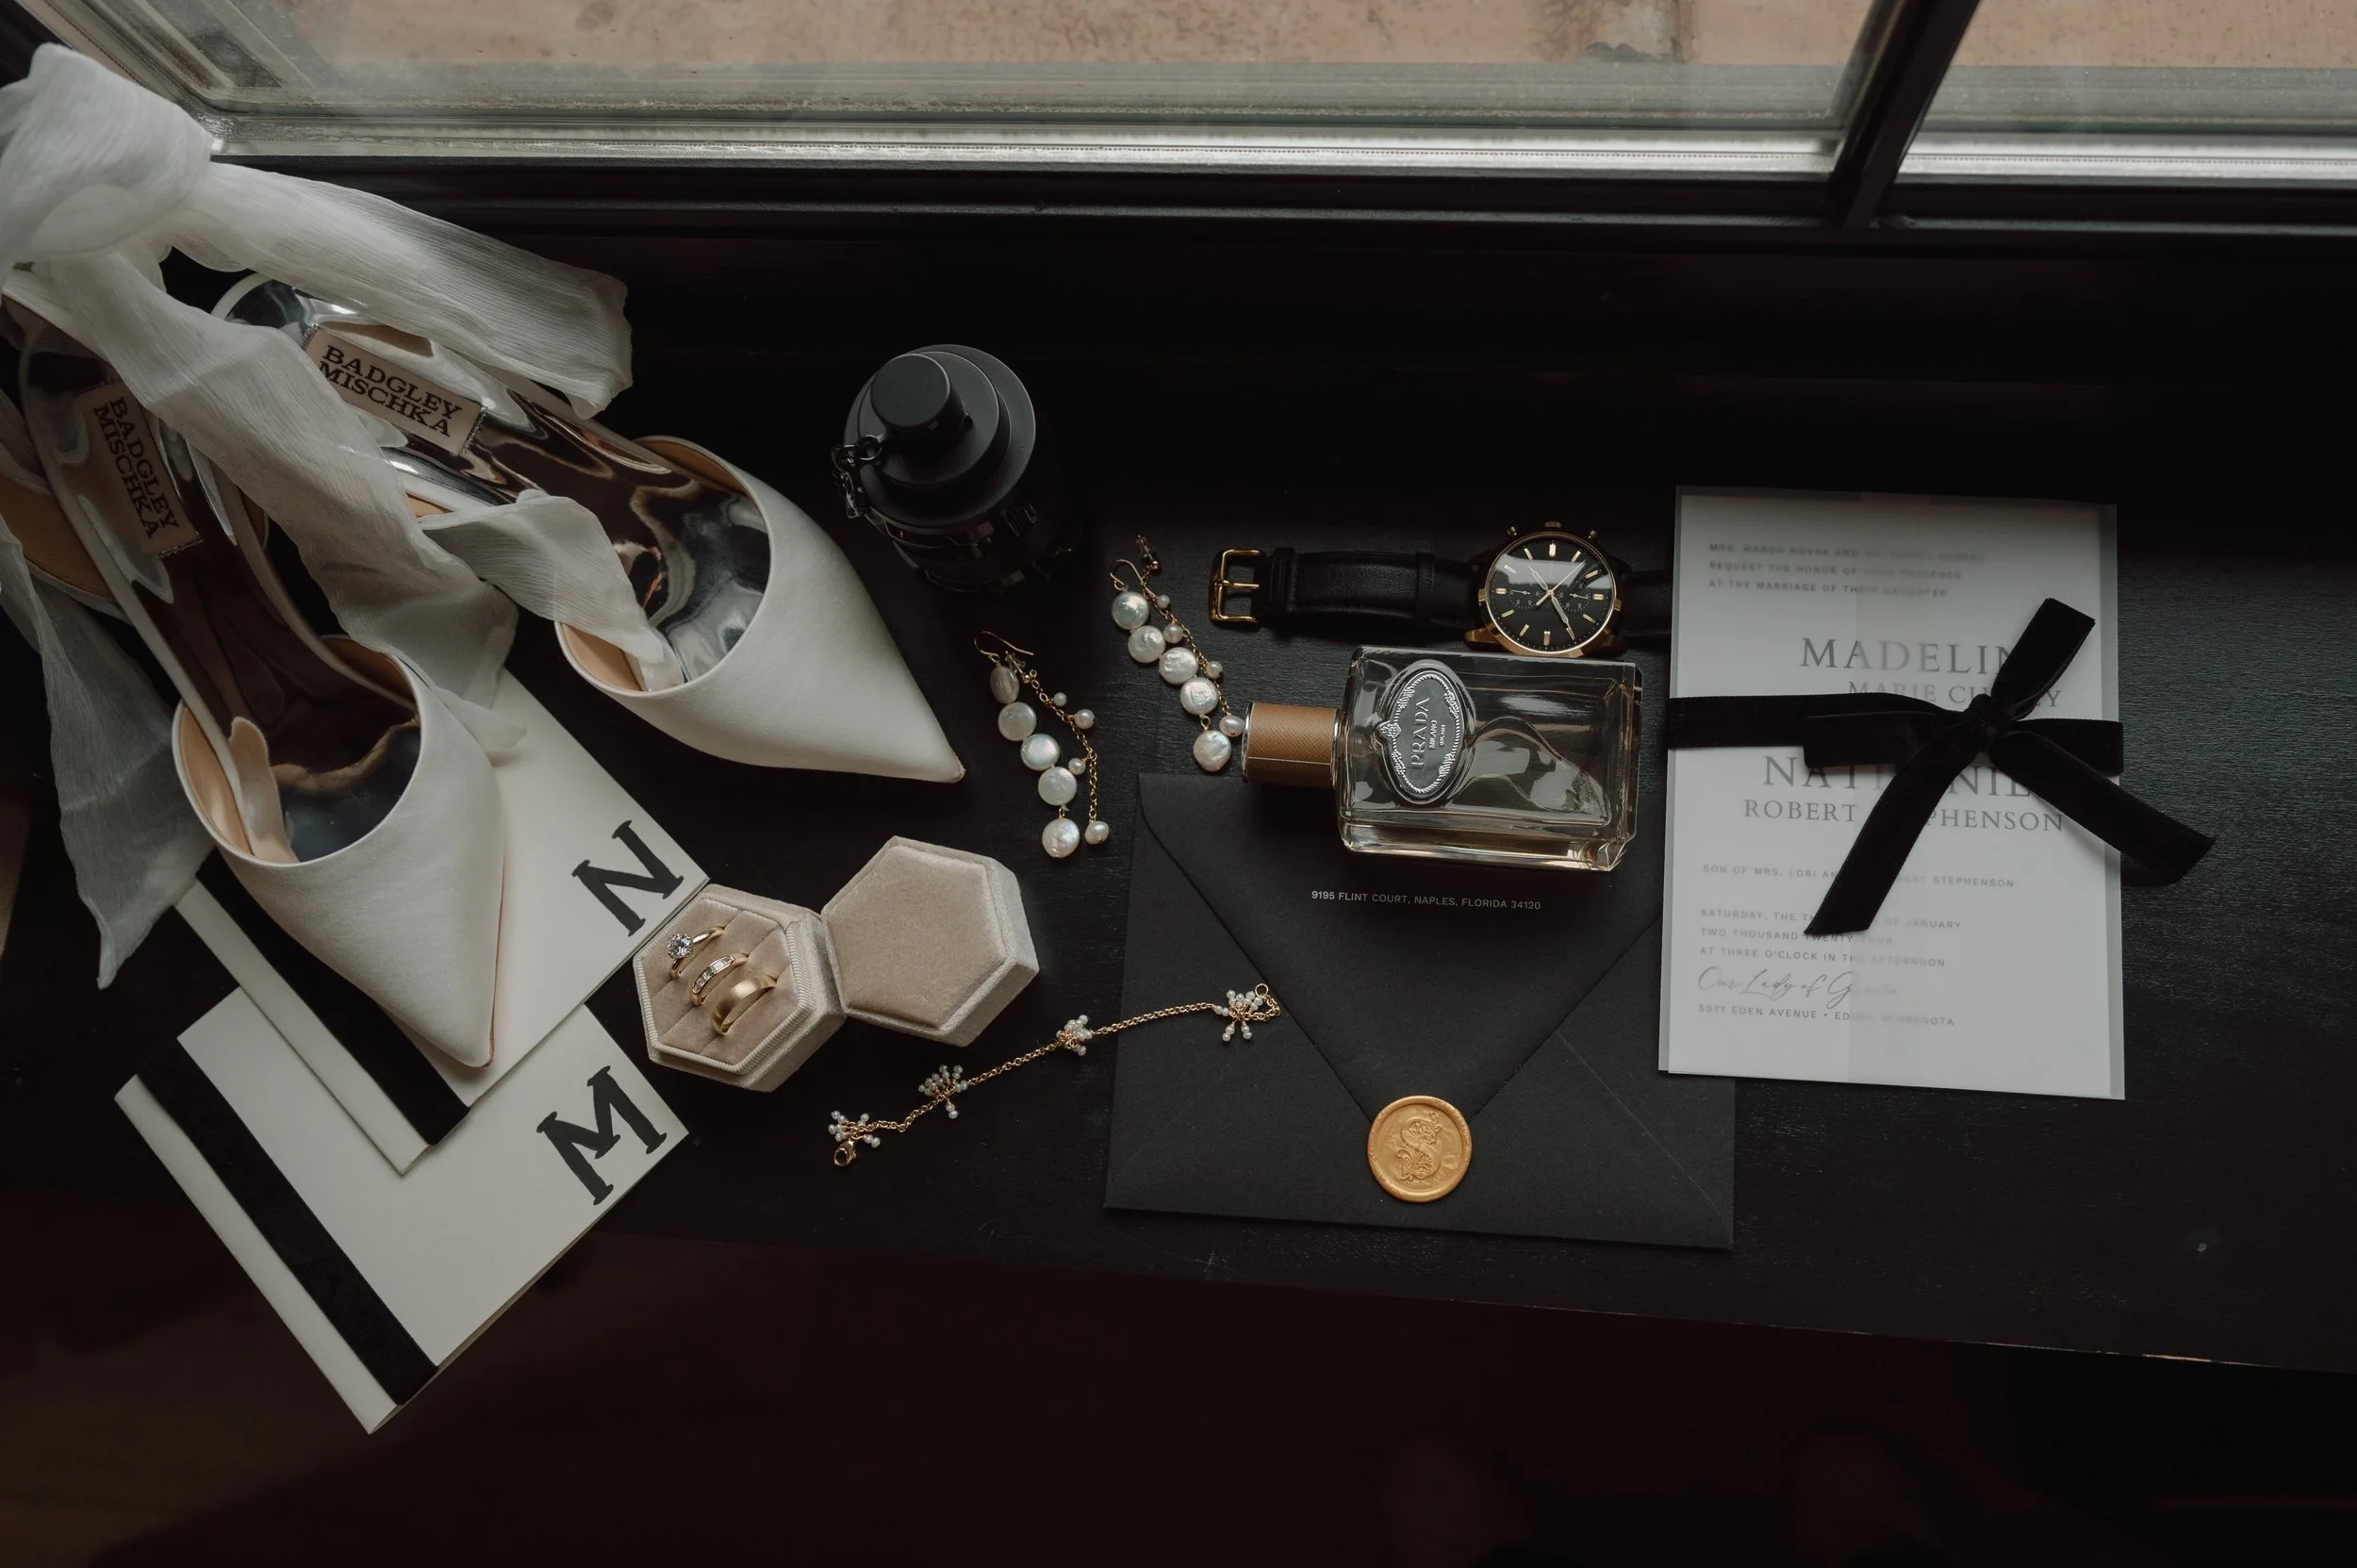
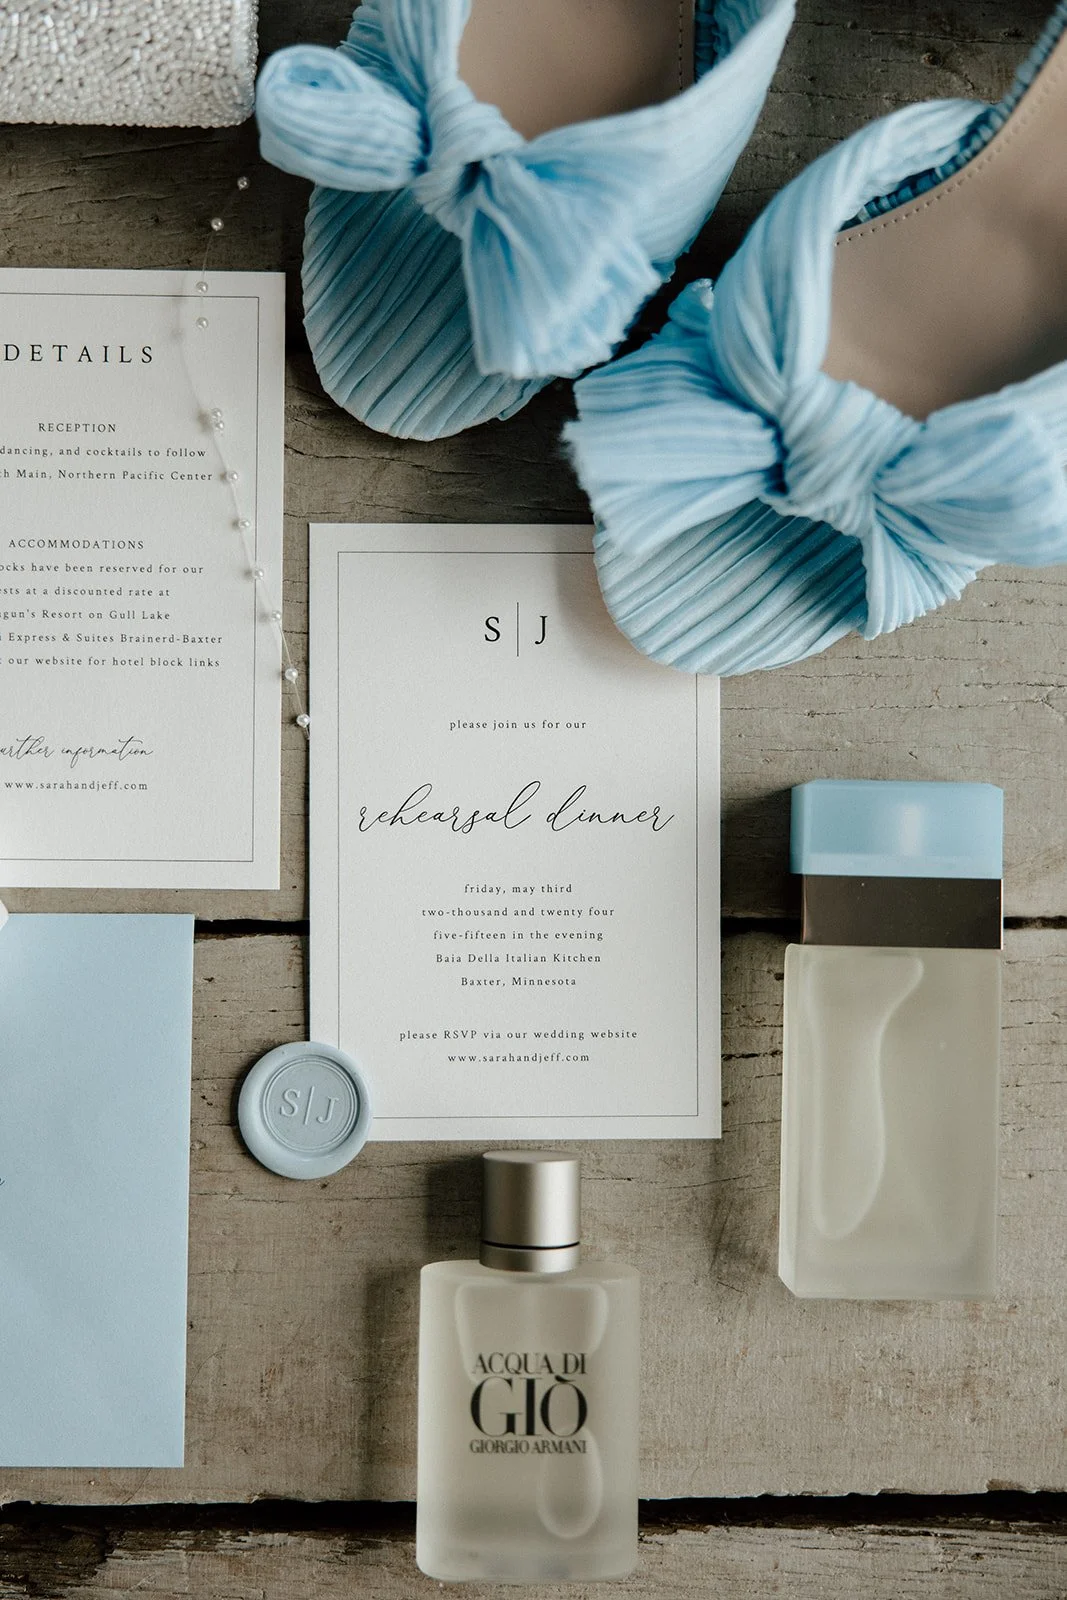
photo credit: Cadence & Eli, Sydney Leigh, Sarah Heath
Step Two: Double-Check Your Addresses
Whether your stationer, calligrapher, or online printing service addressed your envelopes, always cross-check them against your final guest list. Yes, even if they’re a professional.
Even with the best vendors, mistakes happen:
Missing guest envelopes
Misspelled names
Missing apartment numbers
Incorrect ZIP codes
Outdated addresses
Digital address collection tools are incredibly helpful, but they are not foolproof. Taking a few extra minutes to review everything now will save you from returned invitations later. If there are corrections, you can either hand-address the correction with a blank envelope or reach out to your stationer to see if they can, and are willing, to reprint. Unless the error is the responsibility of the stationer, there likely will be a fee.
Extra diligence before going to print goes a long way!
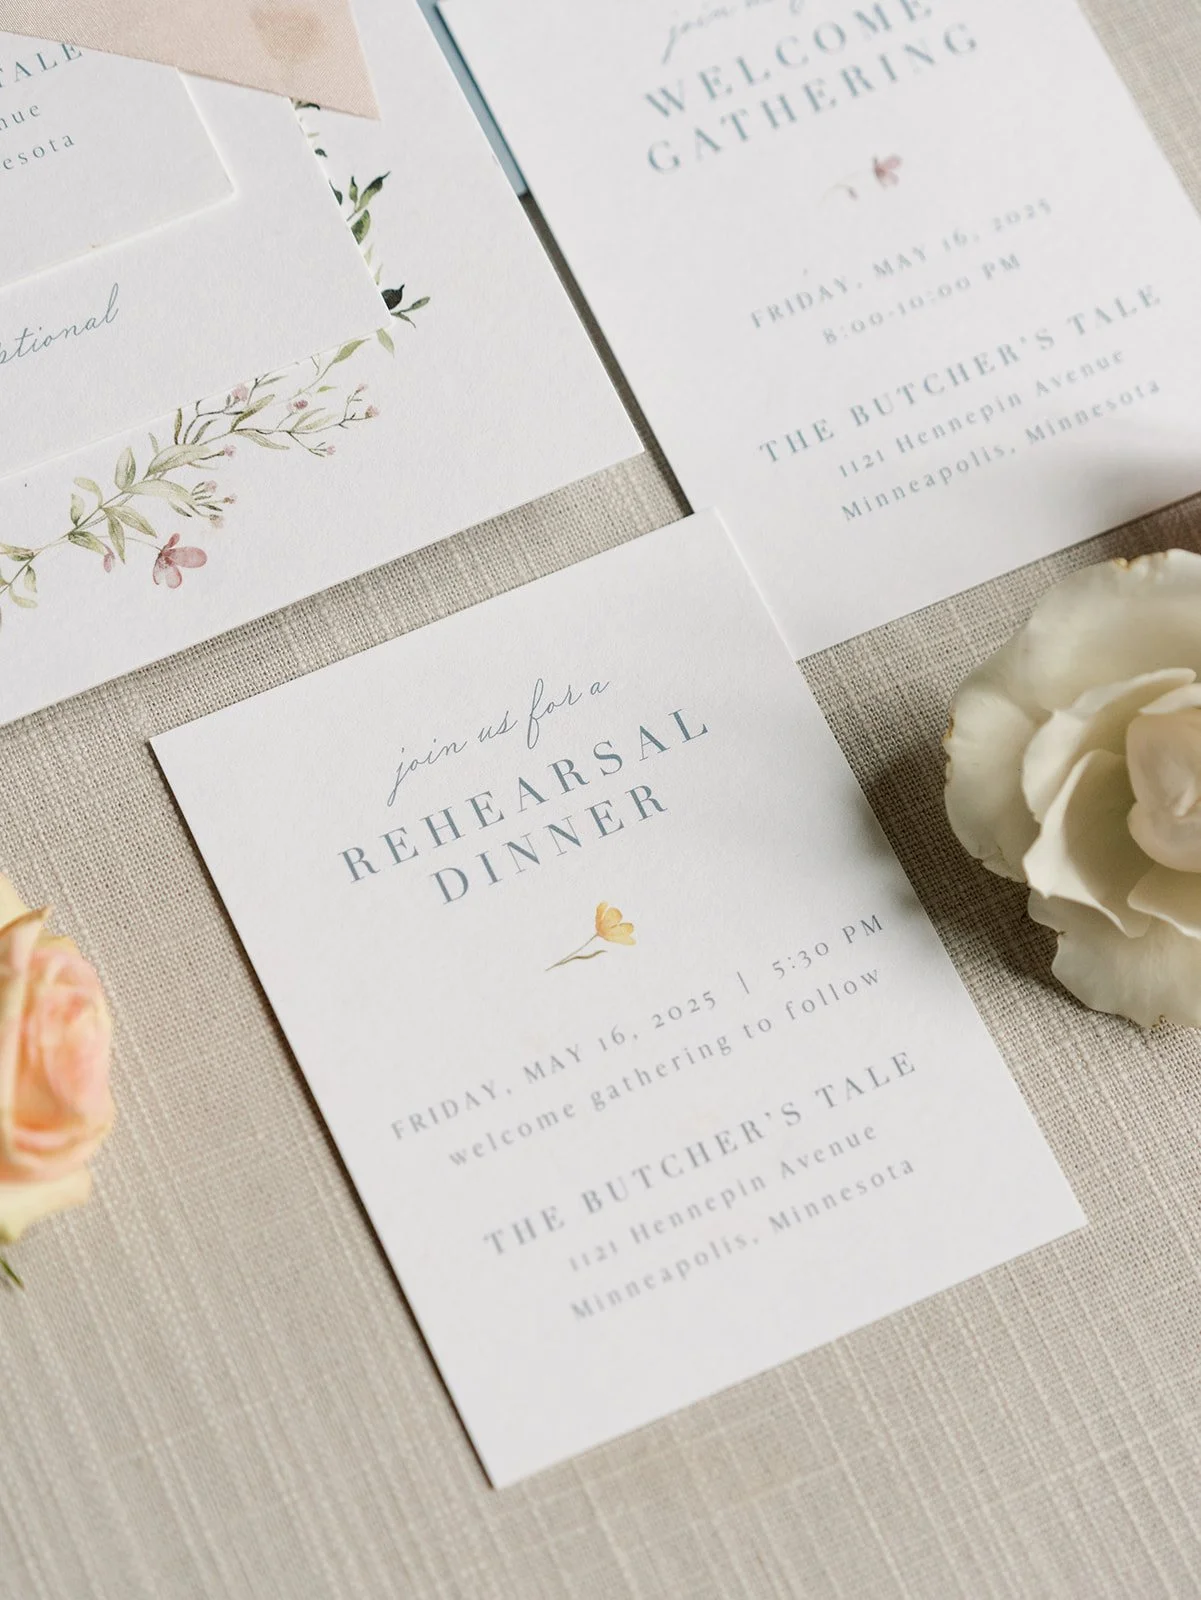
photo credit: Amanda Nippoldt
Step Three: Properly Stuff Your Invitations
There is absolutely a method to this, and yes, we care about it!
With the envelope lying down on the front, guest-addressed side, place the main invitation inside the envelope, front side facing you and rotated to the left (if portrait layout).
Tuck the RSVP card under the flap of the RSVP envelope (printed side of the RSVP card facing up and the flap extending from the left side of the card).
Layer additional inserts (details card, map, accommodations, etc.) from largest, on the bottom, to smallest, on top. It’s likely that the RSVP card/envelope are on top.
Insert the entire stack into the mailing envelope, printed side up, on top of the invitation. Rotate to the left, if need be, to match the invitation.
When your guest opens the envelope from the backside, everything should be facing up.
Pro tip: If you're including:
Wax seals
Ribbon
Vellum wraps
Belly bands
These elevate your design,but they can also increase postage and may require hand-canceling. Not only does the assembled invitation need to adhere to weight restrictions, but also be within a certain thickness to avoid being considered a “package”, so be sure to check with the post office before dropping your invitations in the mail.
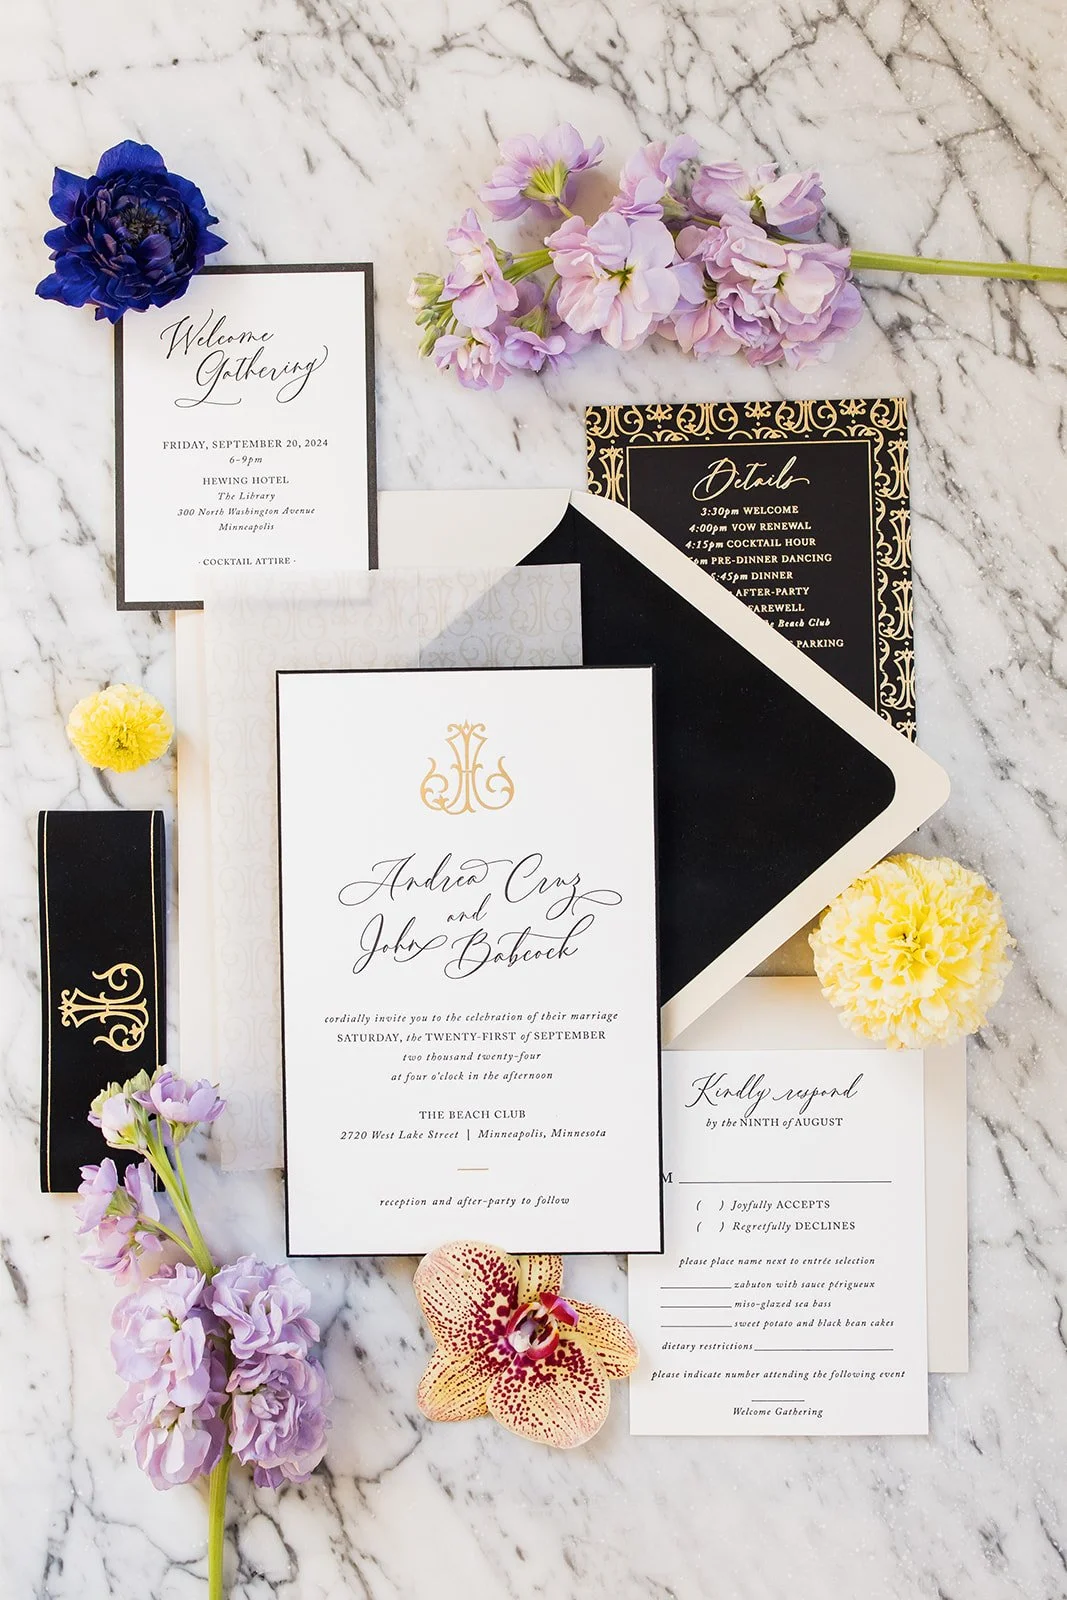

photo credit: Cadence & Eli, Russell Heeter, Cait N’Her Camera
Step Four: Seal Your Envelopes Securely
You can absolutely keep it old-school and seal envelopes by moistening the adhesive and pressing firmly, but don’t rush this step.
To ensure a secure seal:
Press firmly along the flap
Run your fingers across the seal to fully adhere
Stack flap-side down under a heavy book for 10–15 minutes while drying
If using:
A damp sponge or cloth: avoid over-wetting
Wax seals: allow full drying time before stacking
Envelope glue pens: test first to prevent warping
Modern envelopes don’t always have the strongest adhesive, so take a little extra care here. Permanent, double-sided tape or adhesive tape runners work well, and are our standard go-to methods for sealing envelopes.
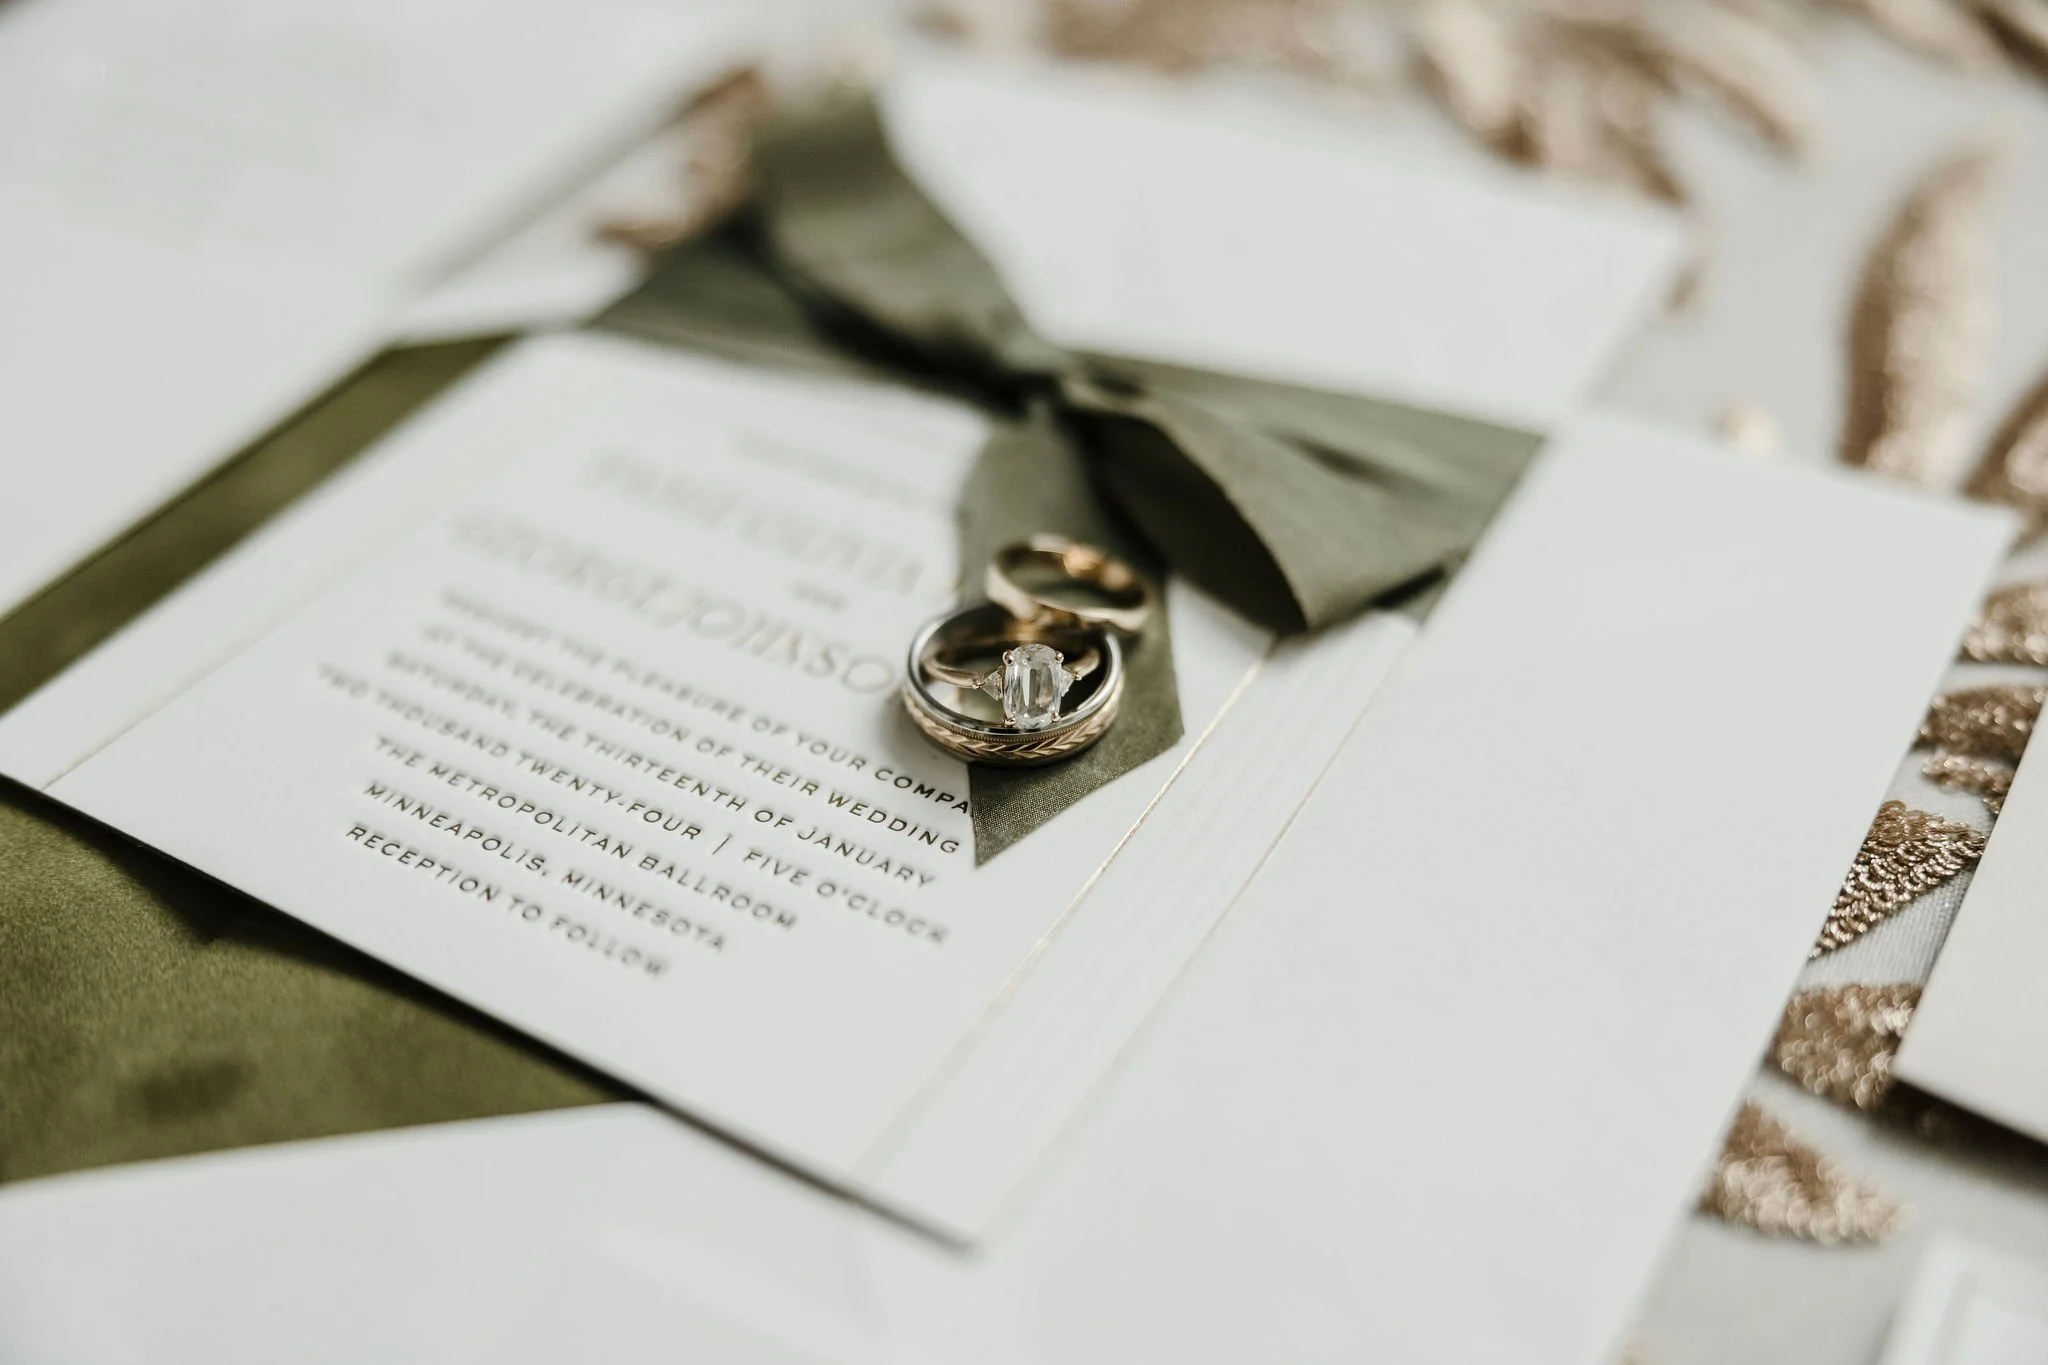
photo credit: Russell Heeter
Step Five: Weigh a Fully Assembled Invitation
This step is critical.
Bring one fully assembled invitation (including all inserts and embellishments) to the post office to determine exact postage.
Why?
Heavier cardstock increases weight
Square envelopes require additional postage
Larger envelopes can require additional postage
Thick embellishments may make your suite “non-machinable”
Rigid envelopes can incur extra fees
The USPS offers a wide range of wedding-themed stamp designs, and you can also curate vintage stamps for a more custom look, just be sure the total value meets or exceeds the required postage. We also suggest coordinating the RSVP envelope stamp with the mailing envelope postage.
Note: International postage will be different depending on destination and should always be confirmed at the post office.
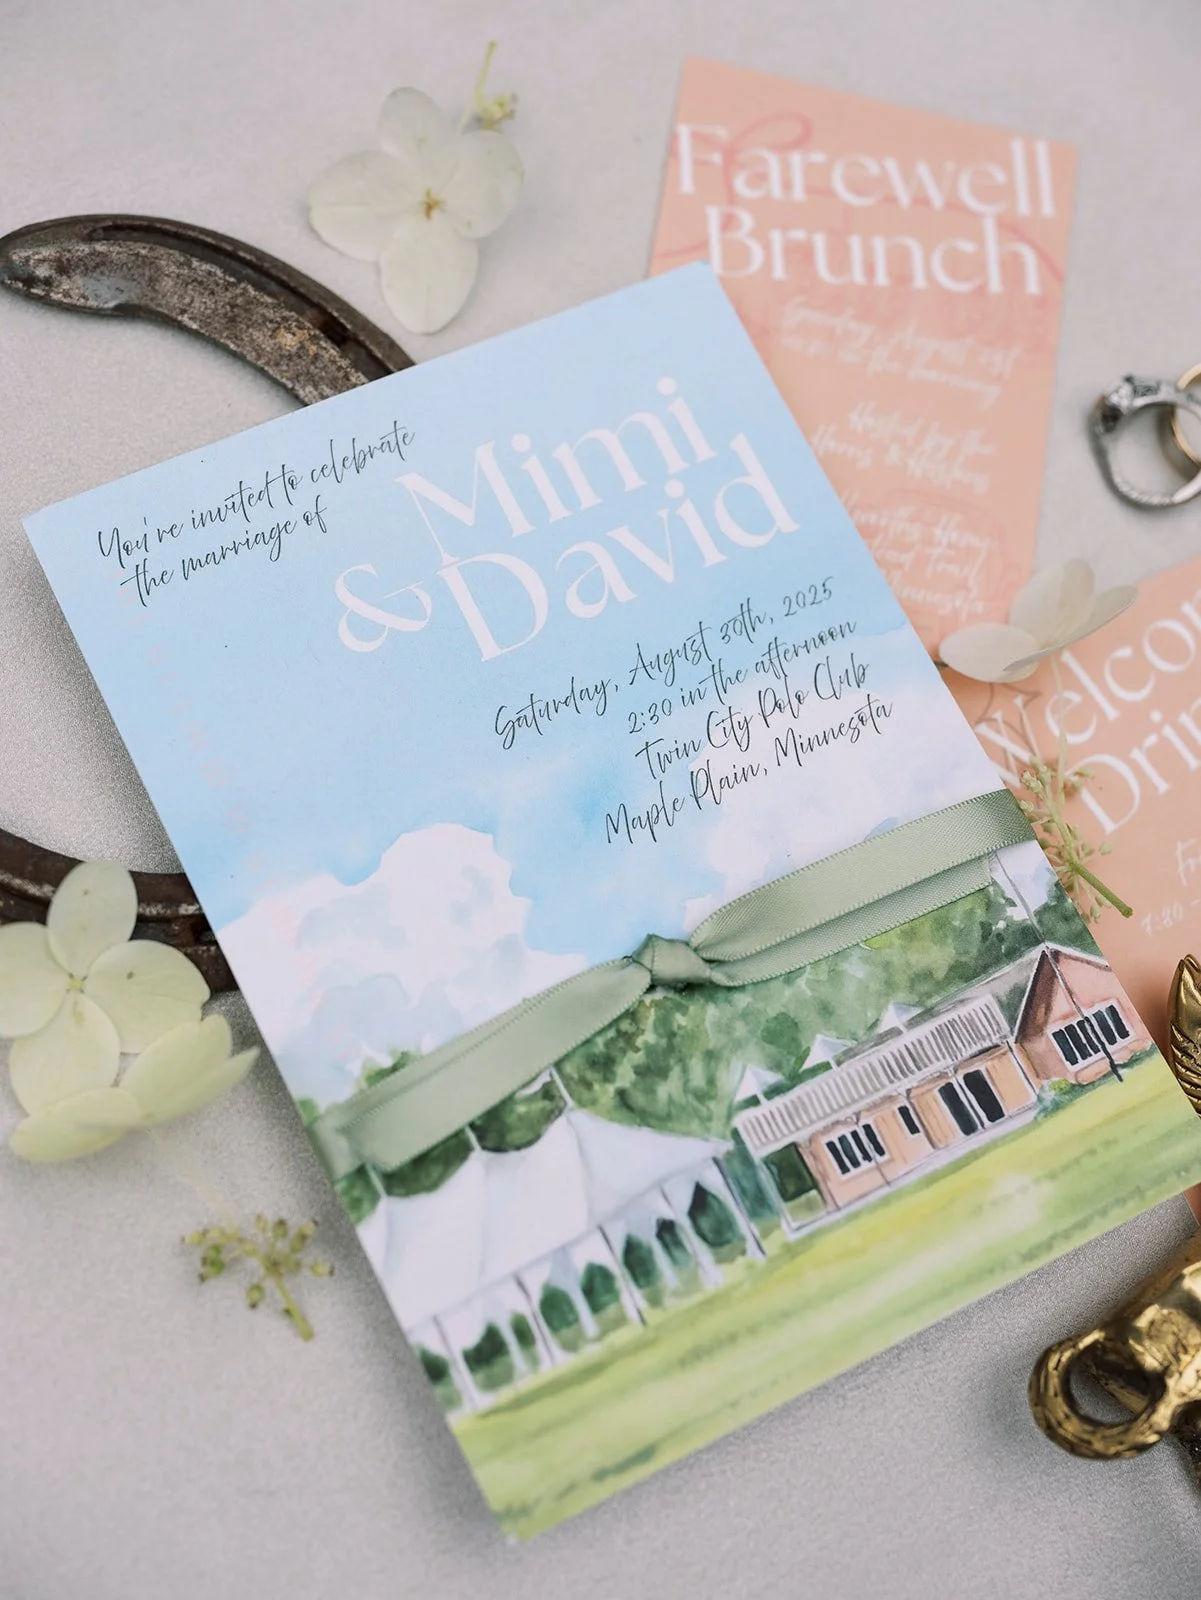
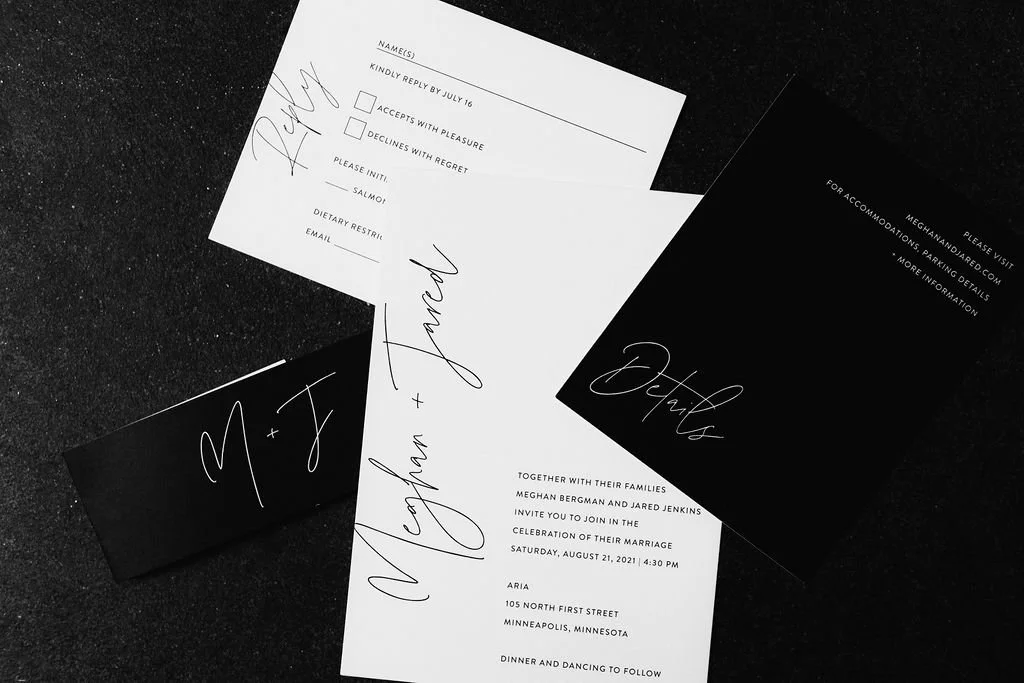
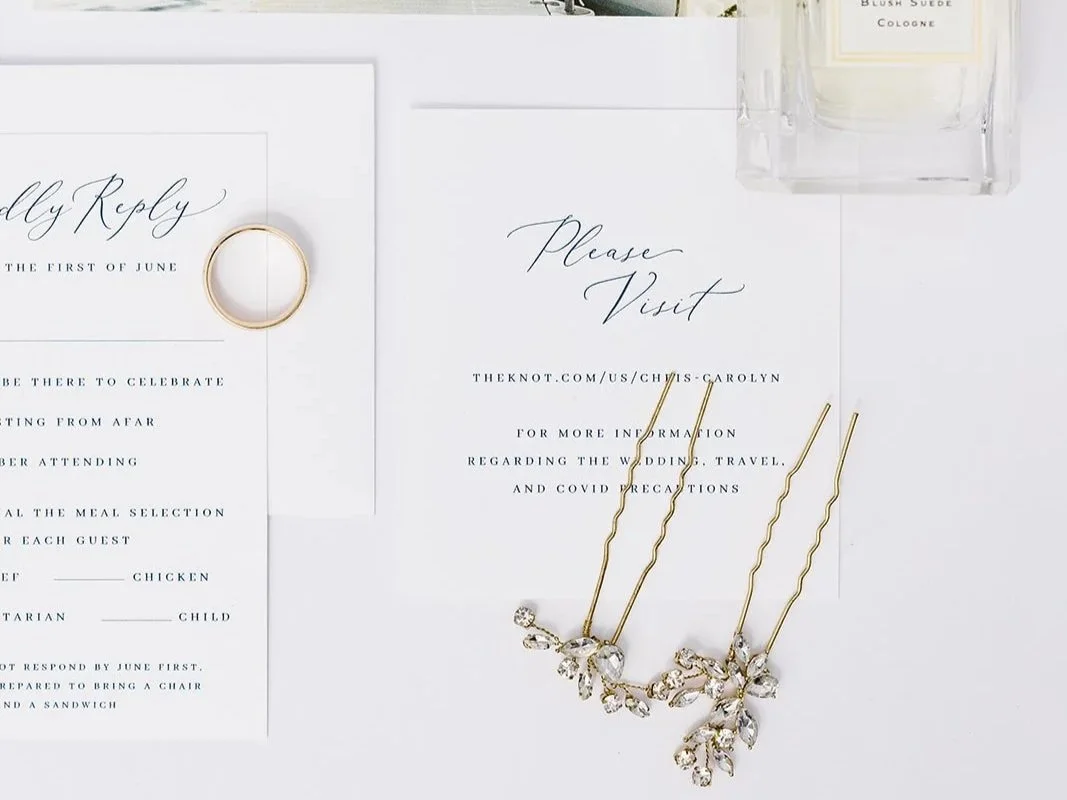
photo credits: Amanda Nippoldt, Matt Lien, Shane Long
Step Six: Mail Them the Smart Way
Rather than dropping your invitations into a mailbox, take them directly to the post office counter.
You can:
Request hand-canceling (a manual ink stamp instead of machine processing)
Ask about non-machinable handling if your invitations are delicate
Confirm postage one last time
We highly suggest dropping them off in the morning to allow time for the postal worker to hand-cancel before the end of the day. Please also note that even if your invitations are hand-canceled, there is no absolute guarantee they won’t go through automated processing later. However, this step significantly reduces the risk of damage, and we always recommend it.
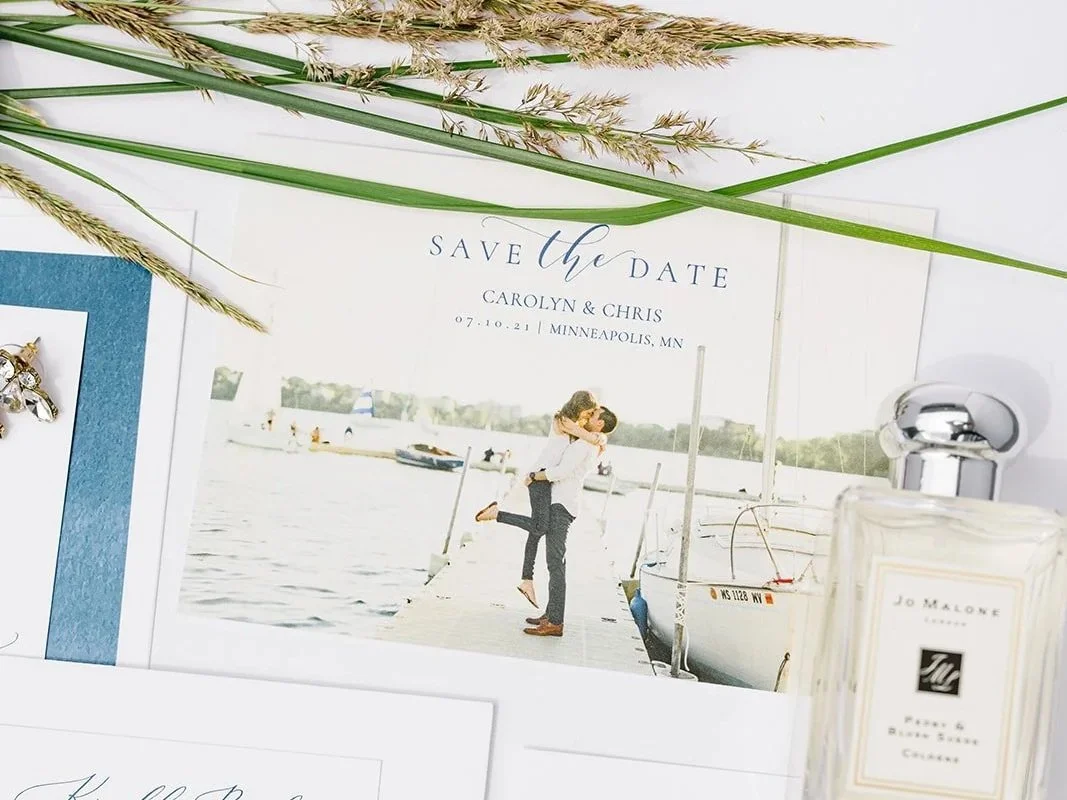
photo credit: Shane Long
Bonus: Timing Tips
Mail invitations 10 - 12 weeks before the wedding.
For destination weddings, mail 3 - 4 months in advance.
Send save-the-dates 8 - 12 months ahead.
And always order 10 - 15 extra invitations for:
Keepsakes
Last-minute additions
Photography flat lays
Address mistakes
Mailing your wedding invitations is one of those moments where everything starts to feel real. Take your time, double-check the details, and send them off with confidence. Your celebration is officially underway!
As Minnesota wedding planners and designers, we provide award-winning, high-end services tailored to discerning couples across the region. With a focus on meticulous design, seamless execution, and personalized experiences, we bring each couple’s unique vision to life while managing every detail with professionalism and care. Our expert teamwork combines creativity and precision to ensure a flawless celebration, reflecting sophistication and elegance at every step.
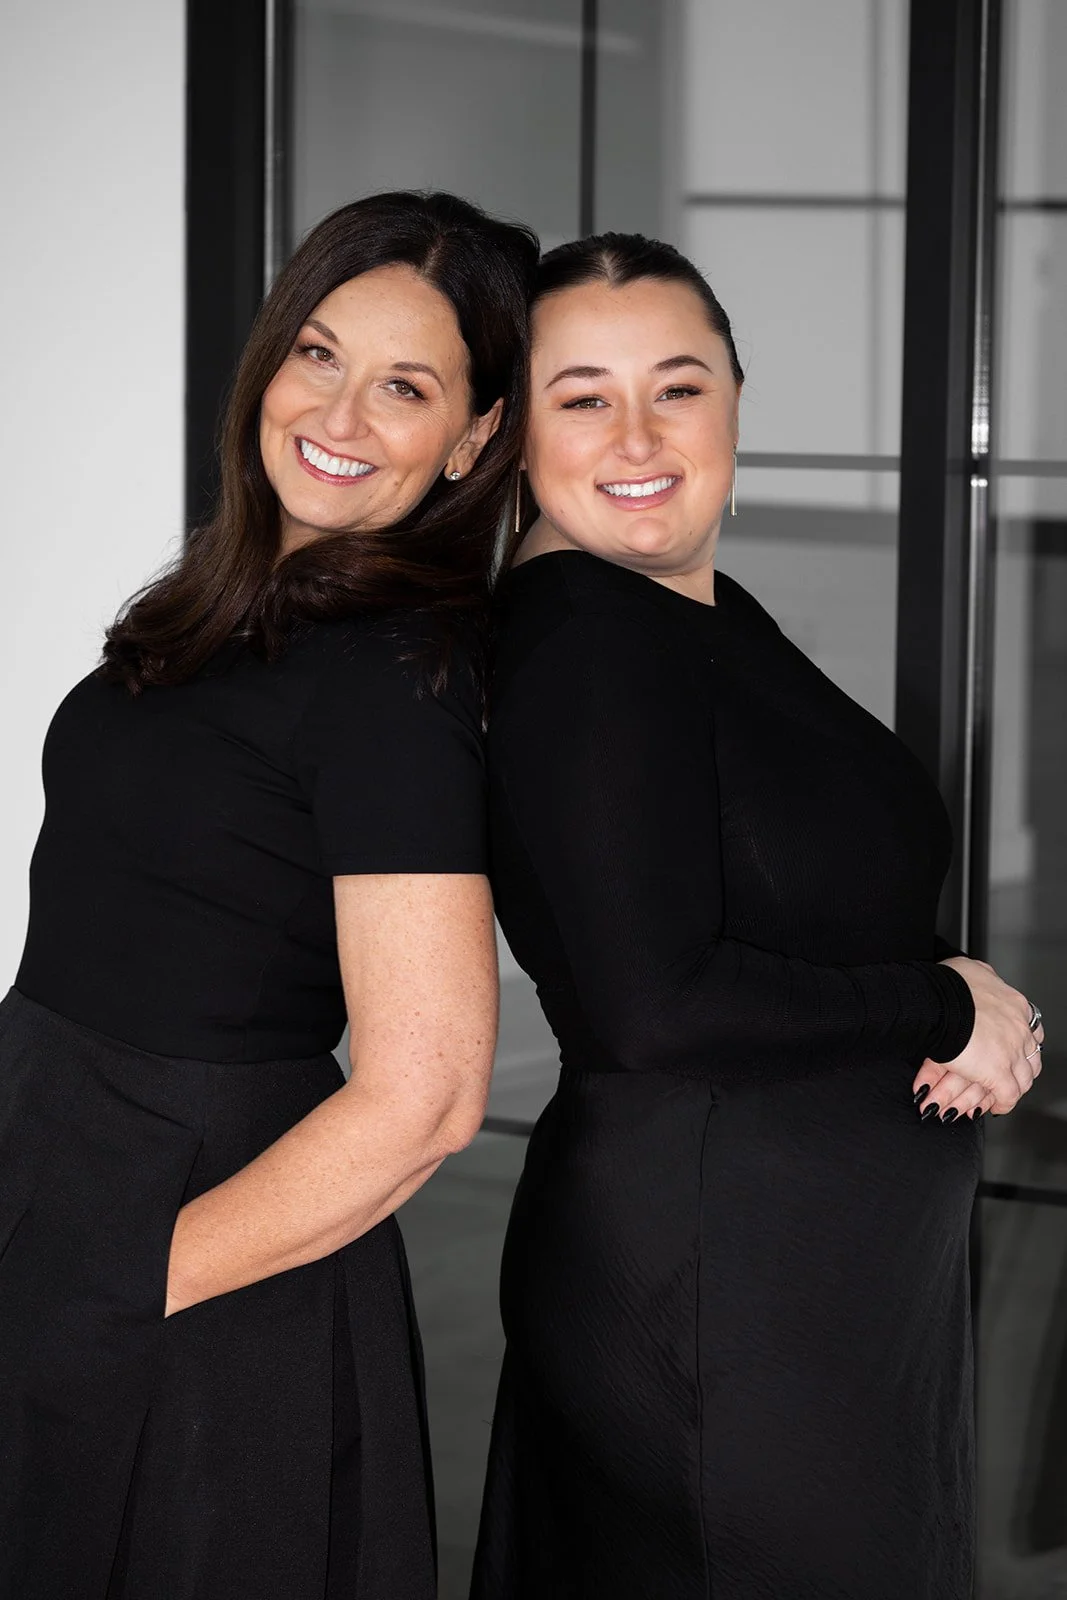
mother-daughter
dream team
Hey there! We’re Rachelle and Anna—mother and daughter…by law, but we like to think of it as family by design. Rachelle’s been in the wedding and events world for over two decades, and for half of that time, she’s had Anna by her side. Our love for details and logistics pairs perfectly with our skill for style and design, making us the ultimate left-brain/right-brain dream team. That’s why we’re called Style-Architects Weddings! We’re obsessed with what we do, and with over 20 awards under our belt, we’re confident we can turn your dream day into a reality.
Rachelle, owner of Style-Architects Weddings, brings a distinctive blend of business expertise and creative vision to every celebration. With an MBA and a background in corporate event planning, she excels at organization, budgeting, and project management while pairing those skills with a refined design sensibility. Her passion lies in creating weddings that feel effortless, meaningful, and beautifully curated; events that reflect each couple’s unique story. Under her leadership, Style-Architects Weddings has been recognized with awards from the International Association of Live Events, The Knot, and Minnesota Bride, and is regularly featured in leading industry publications.
Anna is a seasoned wedding planner with deep experience in event design and logistics, known for her calm approach and meticulous attention to detail. Since 2013, she has been dedicated to crafting personalized celebrations that are both thoughtfully designed and flawlessly executed. Anna’s focus is on ensuring couples feel supported throughout the process, allowing them to enjoy a stress-free planning experience and a wedding day that feels as effortless as it is beautiful. Her work with Style-Architects Weddings has earned industry recognition and consistent features in publications such as Minnesota Bride, a testament to her commitment to excellence.