
How to Mail Your Invitations in 6 Easy Steps
As wedding planners, we get a lot of questions from our couples about invitations. We received some very helpful advice from our friends at Paper Rock Scissor, and wanted to share it with you!
STEP ONE: STAMP YOUR INVITATIONS
To make it easy for your guests to submit their RSVPs, it is strongly encouraged that you stamp your RSVP cards. A standard forever stamp will do the trick for a card that has an envelope. Otherwise, a less expensive postcard stamp will work well for postcard RSVPs.
STEP TWO: ADDRESS YOUR INVITATIONS
If you stationery vendor or calligrapher addressed the envelopes for you, it’s important to double check the completed envelopes against your list to ensure there aren’t any discrepancies. While your vendors will check them before you pick them up, you can never have too many eyes on this crucial detail! If you find that you need additional envelopes printed, please send your stationery vendor a list that details all of the reprints that you need. They will get them completed for you as quickly as possible!

STEP THREE: STUFF YOUR INVITATIONS
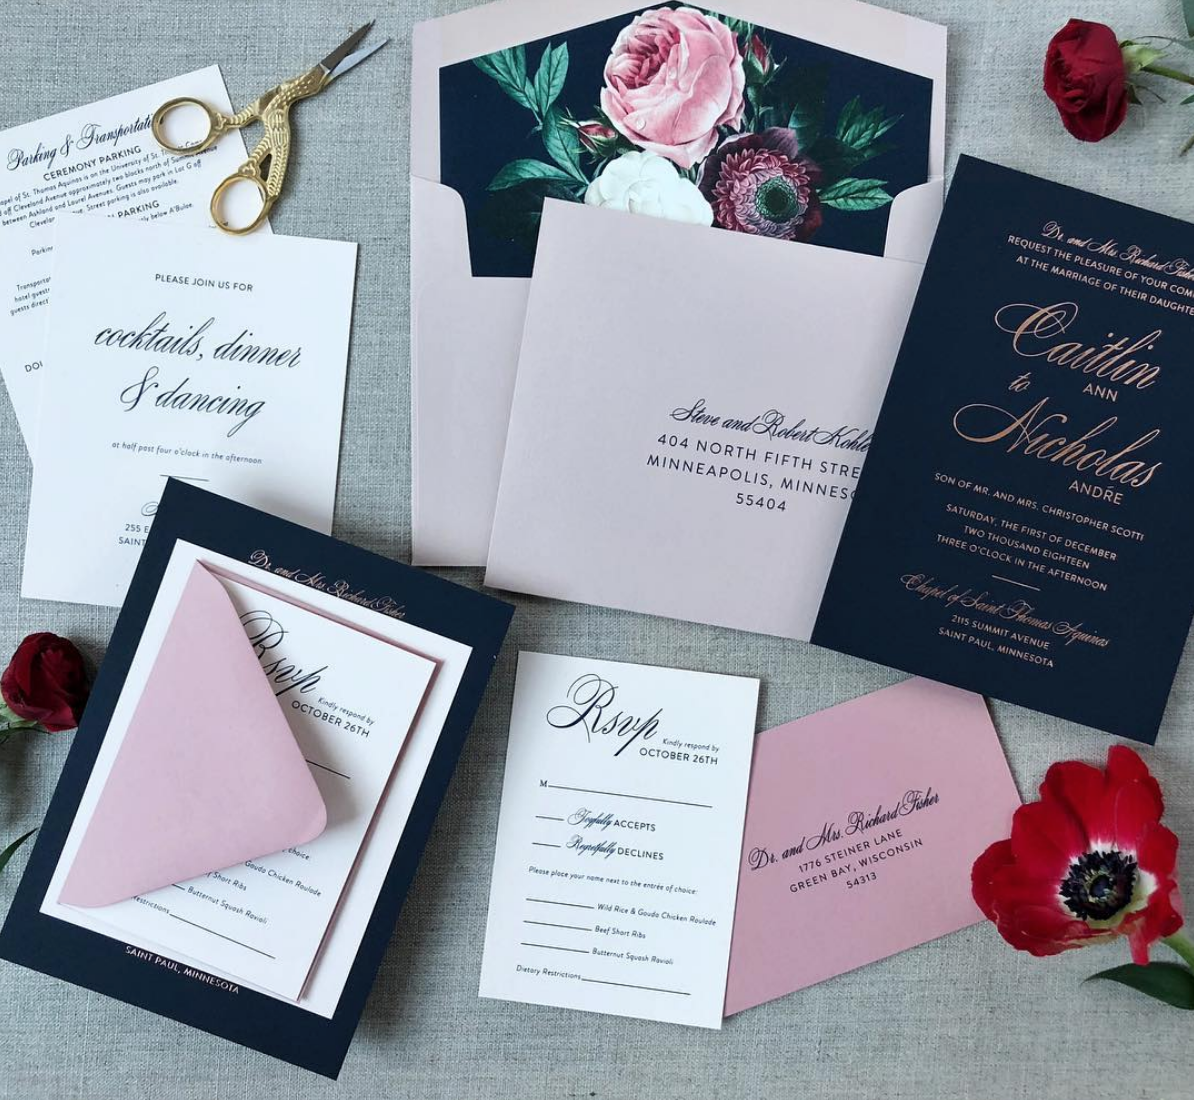
Proper etiquette is to stack the materials - putting the invitation on the bottom and layering the other pieces (i.e. details, map, RSVP card, etc.) with the largest on the bottom to the smallest on the top. RSVP cards should be tucked into the flap of the RSVP envelope so that the flap covers part of the text. With the envelope face down and back flap up, place the cards (printed side up) into the envelope. You want to be sure to stuff them so that a right-handed person could start reading everything as they pull it out of the envelope (sorry, lefties)!

STEP FOUR: SEAL YOUR INVITATIONS
Paper Rock Scissor recommends keeping it old school by licking the envelopes to seal them. Press down the flap and firmly seal the envelope in place by running your fingers back and forth over the seal while pressing down. If you wish, you can stack your invitations (flap down) under a book or other heavy object while they dry to ensure a good seal! If you choose to use a product or washcloth to wet your envelopes, be careful not to over-wet them or wipe the glue off as this can compromise the envelopes.

STEP FIVE: WEIGH YOUR STUFFED ENVELOPES
Have a completed invitation you will be mailing weighed at the post office to determine the amount of postage that will be needed for mailing. Invitations can be larger and heavier (or thicker) than a typical letter, so don’t be surprised if you need more postage than normal! The post office offers an array of stamp designs that are the most common denominations needed for mailings. For the best selection, try shopping online (www.usps.com), or you can ask your stationery vendor about custom artwork to order personalized stamps.

STEP SIX: MAIL YOUR INVITATIONS!
Paper Rock Scissor suggests bringing your invitations into the post office to be mailed, rather than dropping them off in a box. If you wish, you can request (or pay) for the invitations to be hand-processed or hand-canceled. Most post offices try to keep hand-canceled mail separate from regular mail, but even if the local branch sorts by hand, there is no guarantee that your invitations won’t go through processing machines later in their journey to your guests.
